Battery Disconnects 101 – Everything You Need to Know
One of the most common questions we’re asked is, Which battery disconnect do I need? In order to answer that, we need to determine how you intend to use it. There are two main purposes:
- Disconnect the battery when storing the vehicle. This convenience allows you to store the vehicle for an extended period of time without worry of the battery running flat due to parasitic draw of the accessories . Radios, clocks, etc. all draw a very small amount of current with the vehicle sitting to retain settings or data.
- Pass tech at your local track. The NHRA and most other sanctioning bodies mandate a Battery Disconnect Switch that is clearly labeled and externally accessible for any vehicle with a battery that has been relocated to the rear of the vehicle. This affords the safety crew the ability to shut off a running engine and disconnect power to the vehicle’s accessories in the event of a crash, rollover, etc.
Vehicle Storage
This is simple enough. There are several ways of approaching this.
Standard Battery Disconnect Switch
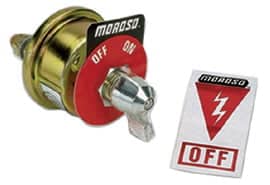
Turn it OFF and you’ve disconnected power to the vehicle. The switch can be wired to interrupt either the positive or negative battery cable; it matters not, as the function is the same. [It is worth noting that such will NOT disable a running vehicle as the case of the alternator is the return path for all accessories with the engine running and not the battery negative terminal. You can learn more about that in our Charging Systems 101 blog.]
The Moroso 74101 (turn ON/OFF) or the Moroso 74106 (push OFF) is the correct battery disconnect switch for this application.
Battery Negative Disconnect

Simply turn the knob and the battery is disconnected. These are simple to install, inexpensive, and available for side or top post batteries: no cutting required. These are designed to interrupt the negative battery cable and we offer them for both top and side post batteries. You simply remove the negative battery cable, install the battery negative disconnect on the battery negative terminal, and then connect the negative battery cable to the disconnect. Done.
The Moroso 74103 Top Post Battery Negative Disconnect or Moroso 74104 Side Post Battery Negative Disconnect is correct for this application.
Manual Resetting Circuit Breakers

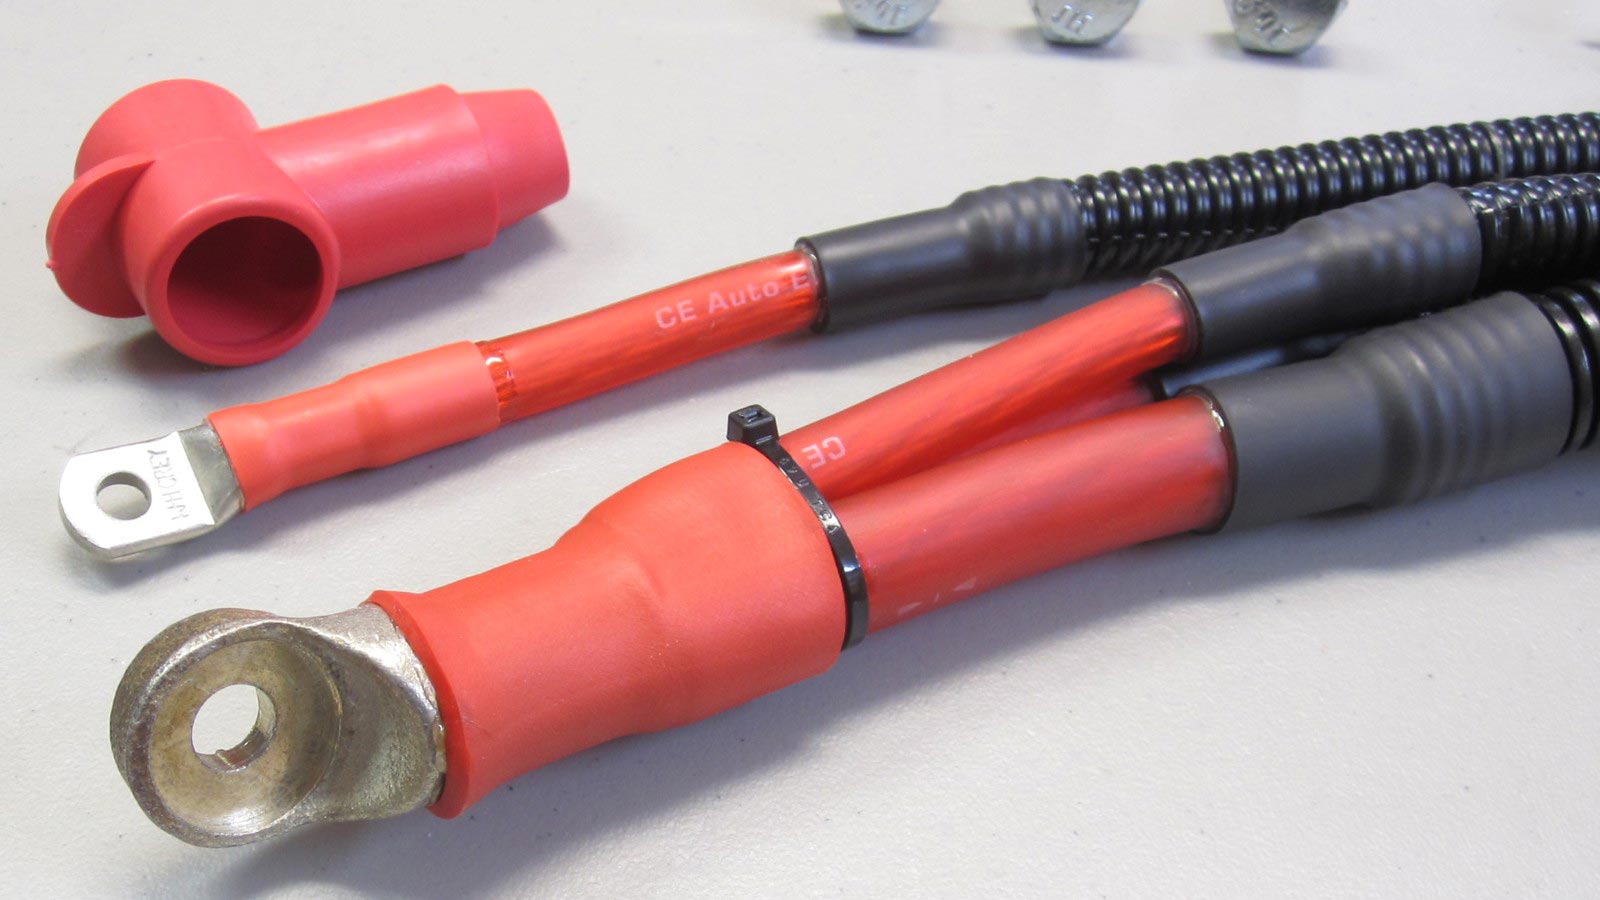
Our Deluxe Battery Relocation Kits include protection for the main power lead via a pair of parallel connected CE Auto Electric Supply Manual Resetting Circuit Breakers. Each breaker has a red button which can be depressed to manually open the circuit. Just open the trunk, press the red buttons on each breaker, and wallah – the battery is disconnected. You get protection and a disconnect in the same product – nice.
Pass Tech at Your Local Track
You’re a racer and you want to pass tech. No problem, we can help! The first consideration is to know exactly how the rules read in regard to acceptable locations for the Battery Disconnect Switch. This can vary by the sanctioning body so you’re advised to invest in a rule book. Acceptable location(s) of the switch itself will be spelled out clearly in the rule book. It’s very important to know this beforehand so that there are no surprises when you show up to race!
To determine which switch is correct for your application, you will need to know whether you have a one-wire alternator or one with a traditionally wired regulator. One-wire alternators have a single connection point – the big stud. Those with a traditionally wired regulator will also have a 2, 3, or 4-position connector that plugs into the housing. One-wire alternators are also referred to as self-exciting and often marketed as simpler or better – they’re neither.
One-wire Alternator Installations
You have two options when installing a one-wire alternator. One way requires a standard 2 post (SPST) switch. The other requires a more specialized 4 post DPST switch. Fortunately, we stock both.
Option 1 – 2 Post Switch
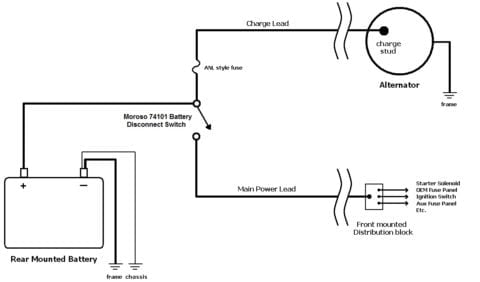
Either the Moroso 74101 (turn ON/OFF) or the Moroso 74106 (push OFF) is the correct battery disconnect switch for this application.
It is wired per the following diagram:
To take the guesswork out of this installation, we’ve developed a full line of Master ON/OFF Add-on Kits. These are available for both our Standard and Deluxe Battery Relocation Kits and are offered in 4, 2 and 1/0 AWG sizes for alternators of all sizes.
We offer everything you need:
- Battery Relocation Kit (choose Standard or Deluxe)
- Master ON/OFF Add-On Kit (match to Standard or Deluxe Battery Relocation Kit)
- Moroso 74101 or 74106 Battery Disconnect Switch
Simply visit the Battery Relocation Kits page to do access all of these products.
Pros
- Compatible with one-wire (self-exciting) alternators
- Compatible with traditional 2 post battery disconnect switches
Cons
- Charge lead will be hot regardless of the position of the switch
- Charge lead must be run all the way to the disconnect switch (or battery positive)
- Fusing the charge lead is highly recommended (included in our Master ON/OFF Add-On Kits) as a short circuit to it cannot be eliminated by turning the disconnect switch OFF
Option 2 – 4 Post Switch
The Moroso 74108 is the correct switch for this application. This switch is basically a pair of high current switches in a single housing, both actuated by the same lever.
It is wired per the following diagram:
Again, our Master ON/OFF Add-on Kits are fully compatible.
We offer everything you need:
- Battery Relocation Kit (choose Standard or Deluxe)
- Master ON/OFF Add-On Kit (match to Standard or Deluxe Battery Relocation Kit)
- Moroso 74108 Battery Disconnect Switch
Simply visit the Battery Relocation Kits page to access all of these products.
You will also need a short jumper to connect output posts A & B as shown in the above diagram. This jumper should be the same size as the charge lead and should have 3/8″ eyelets on each end. While the posts are right next to one another, a 6″ jumper would be the minimum length for 6 AWG or 4 AWG cable – a nice, easy u-turn. You can build and order that via our Custom Cable Builder 2.0. Simple.
Pros
- Compatible with one-wire (self-exciting) alternators
- Charge lead is not hot when disconnect switch is in the OFF position
Cons
- Charge lead must be run all the way to the disconnect switch
Traditionally Wired Regulator Installations
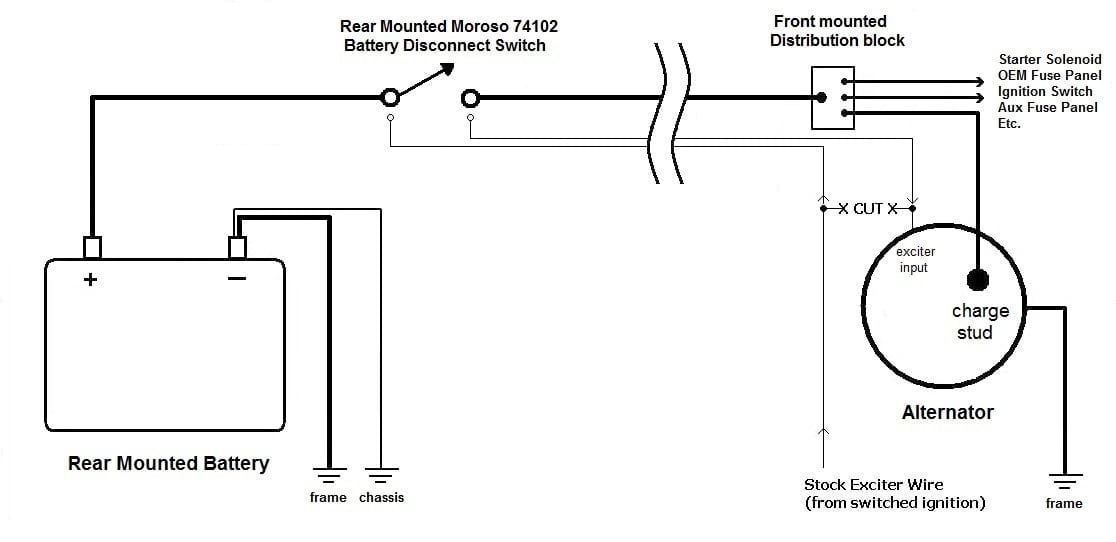
If you have an alternator with a traditionally wired regulator, also referred to as a three-wire, you can also use the Option 1 diagram and parts and it will work perfectly. But why would you do that? 3-wire alternators eliminate the need to run the charge lead the length of the vehicle when used with the correct parts – the Moroso 74102 Battery Disconnect Switch and our Exciter Disconnect Harness Kit. This reduces weight and saves money!
The Moroso 74102 is also a pair of switches in a single housing, both actuated by the same lever. One of the switches is super high-current (interrupts the battery cable) and the other is low-current (interrupts the exciter circuit of the alternator).
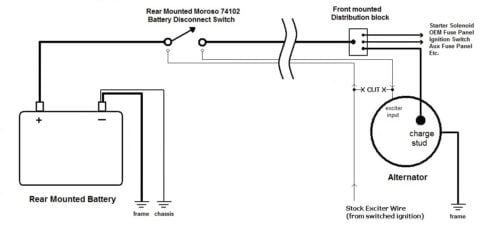
It is wired per the following diagram:
We offer everything you need:
- Battery Relocation Kit (choose Standard or Deluxe)
- Exciter Disconnect Harness Kit
- Moroso 74102 Battery Disconnect Switch
Simply visit the Battery Relocation Kits page to do so.
Pros
- Charge lead need not be routed to the rear of the vehicle
- Charge lead is not hot when disconnect switch is in the OFF position
- Less weight
Cons
- Not compatible with one-wire (self-exciting) alternators
- Not compatible with 2-stud switches
- Not compatible with some late model alternators whose regulators are managed via the ECU, PWM, etc.
For all of the Moroso Battery Disconnect Switches, you have the flexibility of mounting the switch externally (for example: to the bumper or near the license plate) or internally (closer to the battery). If you choose to locate the switch internally, we also offer the Moroso Push/Pull Battery Disconnect Mounting Kit to simplify this.
Finally, we stock a nice variety of Battery Boxes and Battery Trays should you also require either.
In Summary
Interestingly enough, this article should fully illustrate the flaw in purchasing parts before outlining your goals. We take lots of calls from enthusiasts who already have a one-wire alternator and a two-post switch. In addition to narrowing the options on how those parts must be connected to work properly, the alternator is rarely large enough to adequately power their accessories.
So there you have it; now you know. At CE Auto Electric Supply, we’re here to help!
Update – 06/27/18
Recently, a customer asked, Can I use a disconnect switch on my vehicle? It has Electronic Fuel Injection.
The answer is YES!
For the purpose of this discussion, there are two types of electronically fuel injected vehicles – OEM equipped, and Aftermarket. Either way, interrupting battery power to the ECU(s) can cause the system(s) to have to relearn idle characteristics, begin running emissions tests, etc. upon restart. All undesirable side effects.
For vehicles equipped with an Aftermarket EFI system, simply connecting the power and ground leads directly to the battery terminals as directed by the manufacturer is the key. It’s just that simple.
For vehicles equipped with an OEM designed system, it’s not as cut and dry as there can be multiple ECUs / PCMs/ BCMs that require uninterrupted power to retain settings, data, etc. when the vehicle is not in use. In that case, we recommend that you hire the service of an ASE Certified mechanic fluent in that make of vehicle to help you with the installation.


