Charging Systems 101 – Learn the Facts and Become the Expert
We are often asked, “How do I make my charging system bulletproof?” While there is no single answer, here are the three fundamental areas of focus.
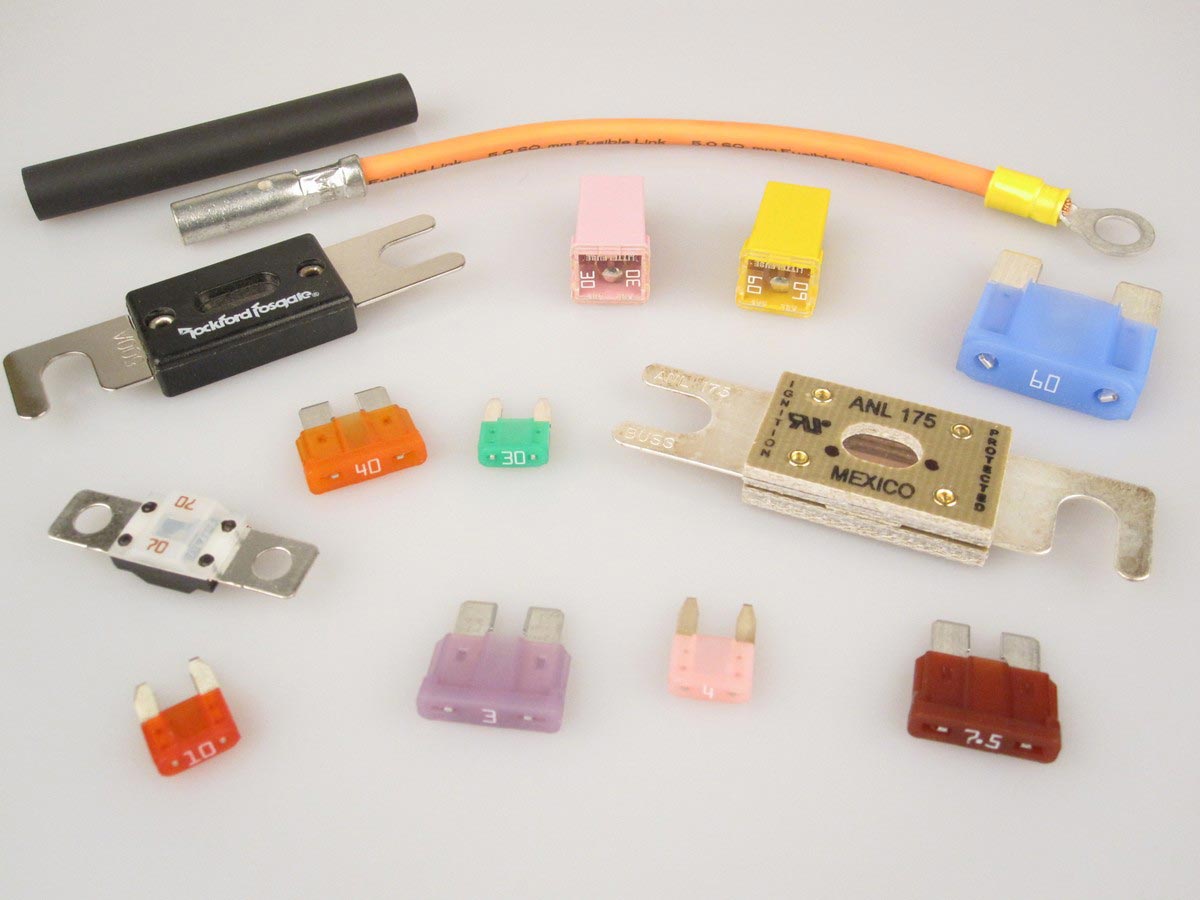
Use Quality Parts, Sized to the Application
Sure, that’s why you’re here. Our site is full of the highest quality parts available and it’s our mission to ensure that you get the performance you’re looking for. It’s always less costly over the long haul to be realistic with yourself about the application and your expectations.
For example, if you’ve added a bunch of accessories to your vehicle which it was not originally equipped, the stock alternator may simply not be large enough. Helping you choose the correct size alternator, cables, etc – it’s what we do. So, you’ve done all that – what then?
Know How Your Charging System Functions
You’ve got all the right parts. Now, a proper understanding of how the charging system functions is the cornerstone of keeping it healthy. The following are all things that you should understand:
- A 12 Volt automotive battery has (6) 2.1 Volt cells connected in series, so it’s really a 12.6 Volt battery. The healthy resting voltage is 12.6 – 12.7 Volts when fully charged.
- It takes a minimum of 13.4 Volts DC to allow a charge to flow into a 12 Volt battery. The maximum charging voltage is 2.4 Volts per cell, so (6) cells = 14.4 Volts – exceed that and you’ll shorten the life (this is not true for deep cycle batteries, which shouldn’t be used as primary starting batteries). It has been our experience that AGM style batteries will not last as long as flooded lead acid batteries when subjected to continual overcharging.
- How much current an alternator outputs is a function of demand as well as the charge state of the battery(ies). The regulator of the alternator manages its current output by increasing its output voltage – greater voltage allows greater current to flow. This is a cornerstone of a non-regulated DC circuit.
- The alternator typically outputs is greatest current just after starting the engine as the alternator is tasked to replenish the charge the battery(ies) just expended. Depending on the charge state of the battery(ies) after starting the engine, this may mean that the alternator outputs 14.4 Volts, or thereabouts for a period of time. This is normal and to be expected.
- After the battery(ies) have been replenished, the output voltage of the alternator should drop as the alternator is now only tasked with operating the accessories and keeping a surface charge on the battery(ies). At operating temperature, and with fully charged battery(ies), we like to see the output of the alternator somewhere between 13.4 and 14.2 Volts, when measured at the battery terminals. That means two things – 1) The alternator is correctly sized and 2) The alternator is not overcharging the battery(ies).
The alternator is the source of power for all accessories in any vehicle with a correctly functioning charging system. As its output is higher than the resting voltage of the battery(ies), the battery(ies) are simply a load to the alternator. Keeping a surface charge on the battery(ies) takes between a 3 to 10 amps per battery depending on the type of battery. As the battery ages, this can increase. This means that voltage flows from the alternator to the accessory and then back to the case of the alternator – the battery isn’t even in such a circuit.
The following video, which I did when I was a LOT younger (OMG), walks you through this in depth. Grab your favorite beverage and enjoy.
General Maintenance & Health
Clean dirt from battery tops when washing your vehicle and keep an eye on terminals and cable terminations for signs of corrosion, etc. Corrosion can be caused from a number of things:
- Overcharging. This can cause gassing. Batteries gassing from being overcharged smell a bit like sulfur. This rapidly corrodes metals and the gas itself is a hazard as it’s highly flammable.
- Over-tightening the battery terminals and breaking the junction of the battery post to battery (usually hidden under the battery terminal).
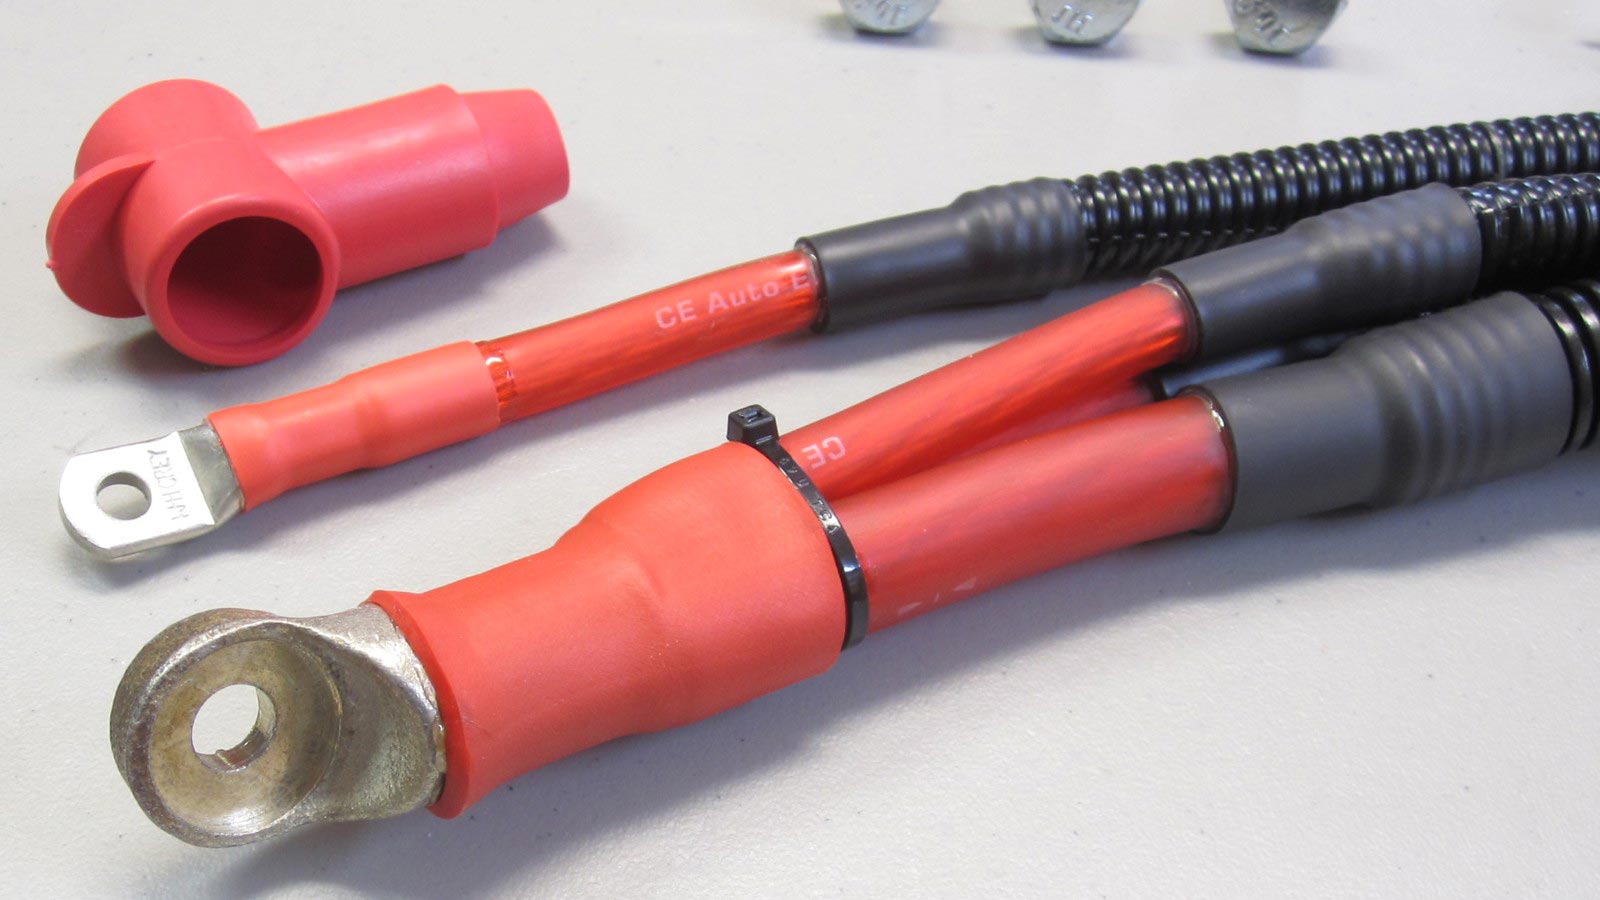
- Galvanic corrosion, caused by dis-similar metals, IE – copper battery cable terminated with a steel battery clamp bolted to a lead battery terminal. This is very common with OEM cable assemblys as non-plated copper cable and steel is relatively inexpensive.
- Environment – allowing water, mud, etc. to enter terminations will rapidly break them down. This is why all cables we make have adhesive lined heat shrink on all terminations.