How to Select and Use Booster Cables
Over the years, I’ve seen all kinds of dos and don’t with booster cables. I’ve seen booster cables of all types, 90% of those crap. I continue to witness scenarios where a vehicle was stranded with a dead battery, “booster cables” were produced, and the stranded vehicle was unable to be started. Twice recently . . . !
Now, it’s no secret that the quality of the goods on the shelves has been dramatically declining for some time now, but when it comes to booster cables it never really was that good to begin with. Today, the stuff you see for sale at all the major outlets is just absolute garbage. Quality has been displaced with multi-color graphics, a cool storage case, a few paragraphs of slick ad copy, and other included goodies – gloves, an orange cone, etc. Oh, and good luck finding a pair of cables made from anything but Copper Clad Aluminum (CCA). Contrary to popular belief, $49.95 won’t buy you anything which can be used to reliably jump a vehicle with a dead battery. All of this is the driving force behind why I designed our Booster Cables that Don’t Suck many years ago. Today, they’re just that much more relevant!
Allow me to break this down a bit further. The obvious features when shopping for booster cables would be length, gauge, and the versatility of the booster clamps. Let’s discuss this with respect to The Laws of Physics – they are Laws after all, not just really good ideas.
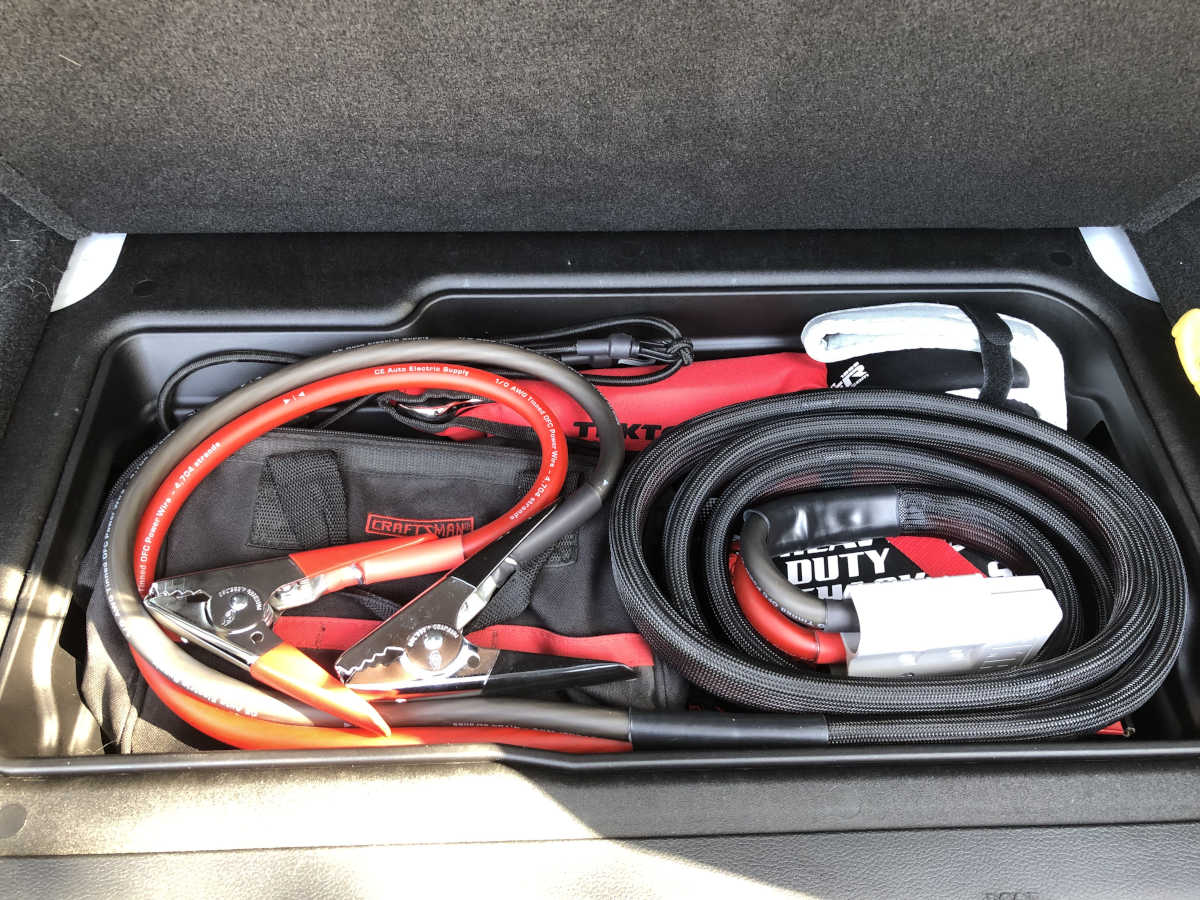
Length
The longer the better, right? Well to an extent. One of the scenarios I recently witnessed was with a lengthy set of booster cables, which appeared to be 6 or even 8 gauge. These cables were 20-25ft long! No matter how high the woman revved the engine in her SUV, that Toyota truck wasn’t starting. They were both puzzled as to why. [Unfortunately, I wasn’t in the Shop Jeep or the Truck that evening . . . ] Had the cables been 5ft long, they would have had a better shot. Even yet, likely not with a cable set of that gauge.
Rule # 1 – The longer the cable set, the larger the wire gauge required. 30 footers won’t do you much good unless the cables are just massive.
Gauge
Booster cable sets are available from 10 gauge all the way to 2/0 gauge. 6 gauge and smaller sets are really not suitable for jump-starting a vehicle with a dead battery but could be handy for a lawn mower or small tractor with a dead battery. Carrying a set in your vehicle is much like carrying a 12oz bottle of water just in case you end up in Death Valley and your vehicle won’t start – at which point, you really may need some booster cables.
While we’re talking about gauge, let’s talk about the American Wire Gauge (AWG) specification. That’s a guideline which has been established which dictates the minimum amount of copper a given size of cable must have as well as the maximum allowable resistance per foot for the same. Most cables have printing on or embossing in the jacket which tells you which size. Here’s how do decode that:
4 GAGE blah blah blah – garbage
4 GAUGE blah blah blah – garbage
4 AWG blah blah blah – possibly quality (more on this soon)
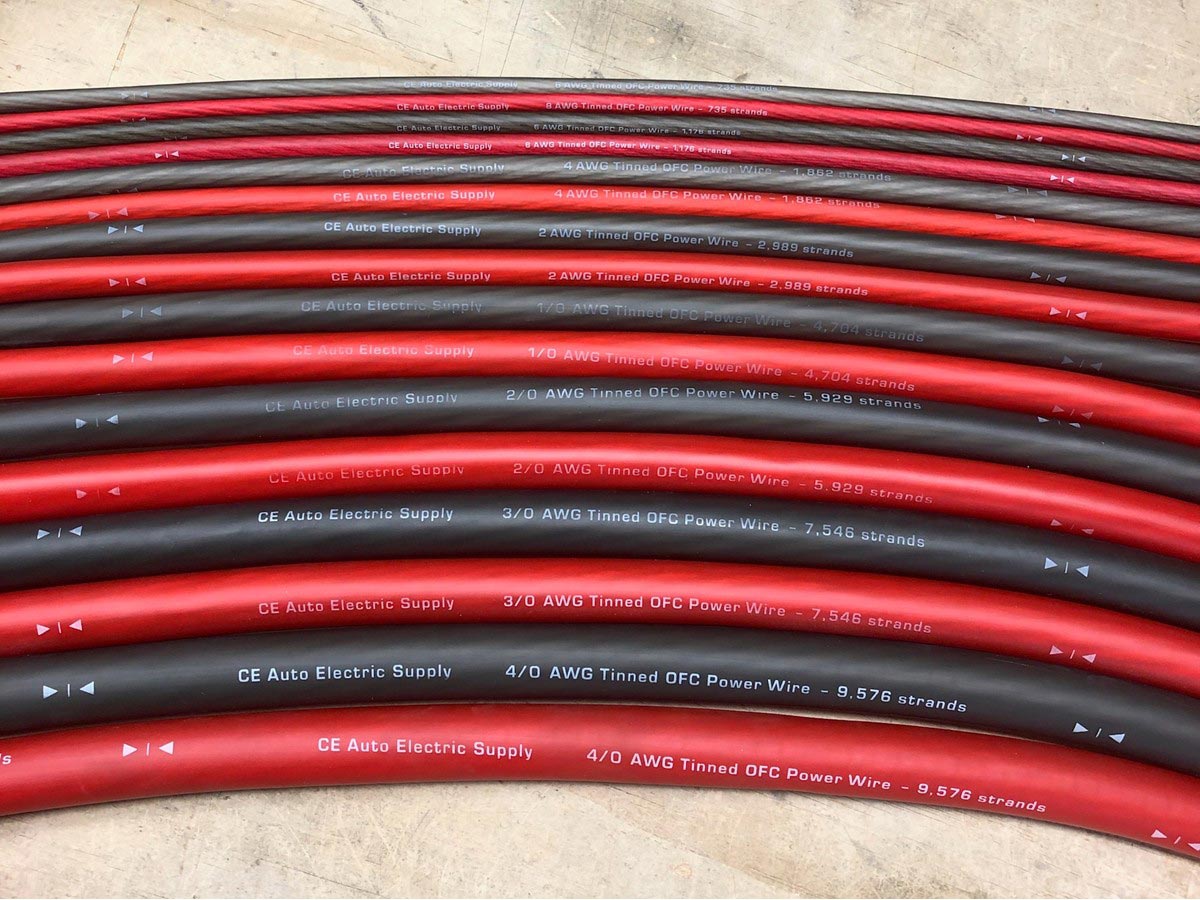
Full specifications on our Battery Cable is as follows:
- Meets or exceeds full AWG (American Wire Gauge) specifications.
- Is made of Pure OFC (Oxygen Free Copper) and tinned for corrosion resistance.
- Has a soft, flexible 600V PVC oil resistant jacket.
- Is dry rated for between -40 to 105 deg C, wet rated for up to 75 deg C.
- Is BC-5W2 Marine Compliant.
Our 2 AWG Battery Cable has 2,989 strands
Our 1/0 AWG Battery Cable has 4,704 strands
Our 2/0 AWG Battery Cable has 5,929 strands
Less isn’t more here. If there aren’t any specifications on the jacket, assume the worst. Also, a big jacket isn’t necessarily an indication of a big burly cable beneath it. Often it’s simply a visual to deceive you about the shameful amount of conductor within.
Rule # 2 – The gauge of a cable dictates the voltage drop over the length of the cables. So it’s important to know that the specifications provided are based on the standards set forth for cable size. Quality cable is paramount here. The large print giveth and the small print taketh away . . .
Booster Clamp Versatility
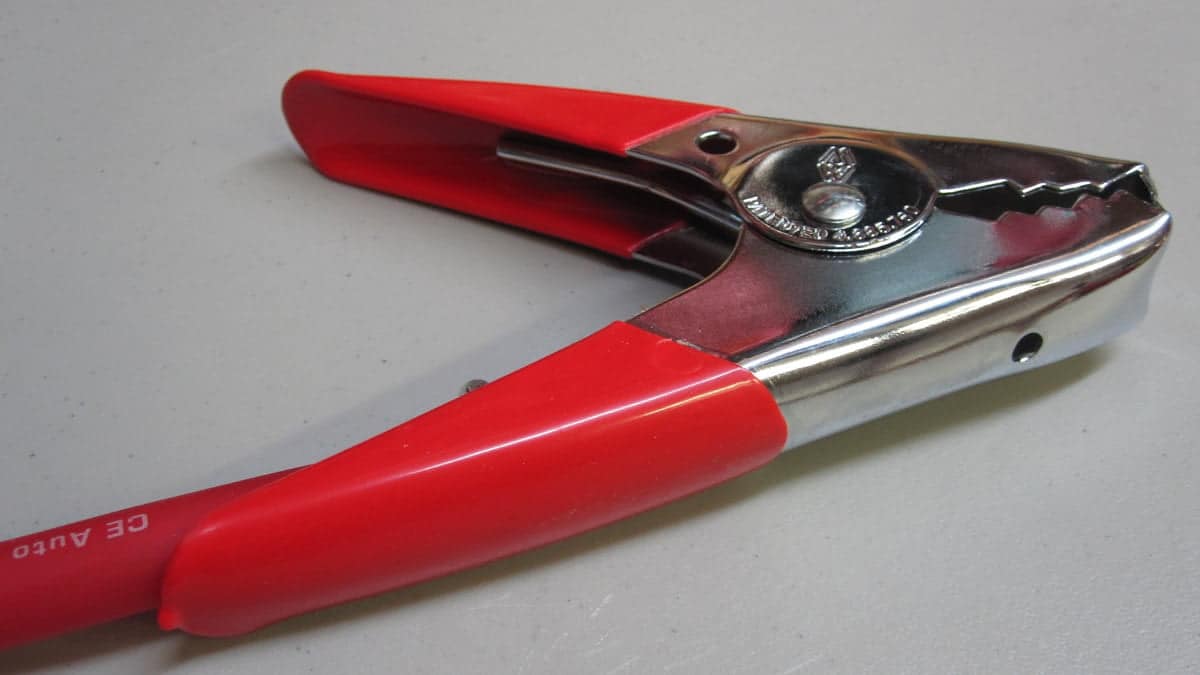
When it comes to the booster clamps themselves you want a clamp that is difficult to open with one hand, has plenty of metal gripping contact area at the ends where it must grab onto the battery terminals, and some good sized teeth suitable for digging in and holding on. Well insulated handles are also prudent to protect against accidental shorts between the clamps or between the positive clamp to the body of the vehicle – either would be bad.
The more difficult the clamp is to open the more likely they are to securely hold onto whatever you’ve clamped them to. This is the #1 problem with cheap cable sets – you have to often squeeze them closed yourself to get some holding power. And that’s really not the best idea when jumping a dead battery as you need to be prepared for the worst. Look closely at the teeth – if they look like they could inflict injury you’re on the right track. Finally, how wide can they be opened? They’d better at least be able to grab onto a battery terminal ya’ know!
Rule # 3 – Holding power, protection, and versatility is key. The better the clamps can grab on, the lower the resistance.


Other Important Criteria
We’re all shoppers. It helps to be armed with some knowledge before laying down your hard earned cash. So, let me educate you on what you really should be looking for as it pertains to functionality, performance, and reliability.
Correctly Sized based on the Length and Application
Automotive Booster Cable Sets should be a minimum of 2 AWG with any length of 12 foot or greater. A pair of 20ft 4 AWG cables would have a LOT of voltage drop over that length while 2 gauge is approximately 40% less! This assures you that you can reliably jump start a car or truck on the first attempt. Most vehicle starters require several hundred amps of current to crank the engine over. It takes big cable to supply that.
CCA versus OFC
Go back and read Rule # 2. CCA has 30-40% greater resistance per foot than OFC (Oxygen Free Copper). Oxygen Free Copper is also far more expensive. CCA was intended from the word go to deceive consumers into converting their hard earned money into waste – otherwise it simply wouldn’t exist. It is the proverbial bag of chips where the contents are 40% air. As if that weren’t bad enough, it quickly corrodes when exposed to oxygen. Great stuff. CCA is exactly what it sounds like – aluminum wire clad with a copper outer layer – kind of like buying a can of chrome paint to make car part shiny, ya’ know.
Terminations
Booster Cables are rarely handled with kid gloves. The ends are routed and twisted in all kinds of directions in the normal course of using them. Therefore, it’s best to have the ends affixed to the booster clamps in such a way that they won’t get pulled apart over time from use. In addition, these terminations should be well insulated to prevent them from breaking down from battery gases and the elements. At present, we are the only company I can think of who pays any attention to this whatsoever. All other cable sets I’ve seen have bare cable affixed via the same methods and those terminations open to the elements.
Booster Cables that Don’t Suck
Fortunately, our Booster Cables that Don’t Suck check all the boxes. Yes, they’re expensive relative to the crap that you can buy at the stores (in the same kind of way that a Mercedes is expensive relative to a Yugo). However, when you do need to rely on them, they’ll get the job done every single time and you’ll be able to hand them down to your kids. Here’s how to choose them:
- 2 AWG Cable Sets are ideal to carry in a passenger vehicle. They’re able to reliably jump start other passenger vehicles and trucks.
- 1/0 AWG Cable Sets are ideal when considering longer lengths. They have 57% more copper than 2 AWG cable sets which make them perfect for jumping vehicles with diesel engines, multiple dead batteries, etc. The larger cable size delivers greater current with less voltage drop.
- 2/0 AWG Cable Sets are ideal for service vehicles, big trucks, and even heavy equipment applications. The cable sets are even longer to offer increased utility.
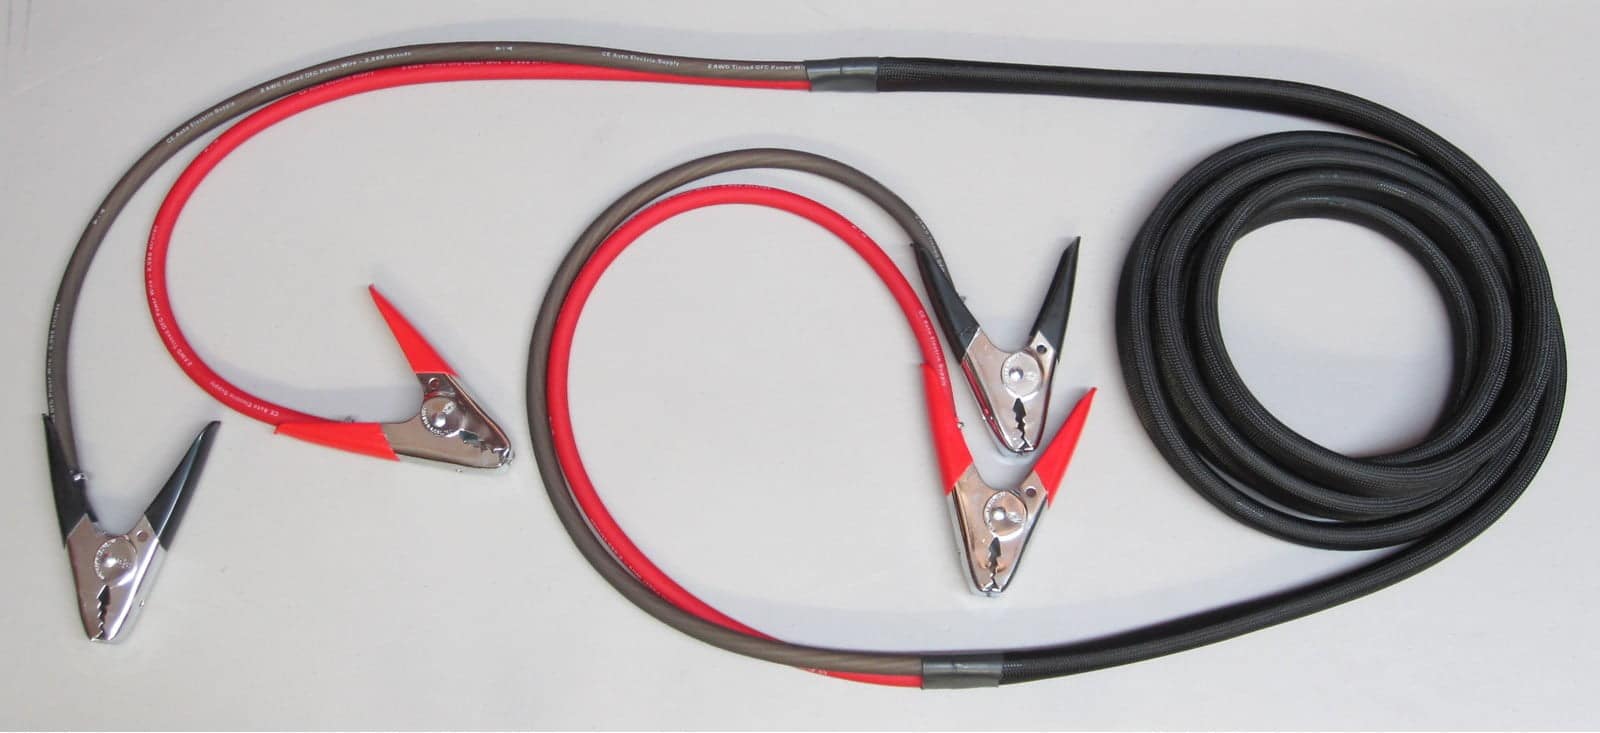
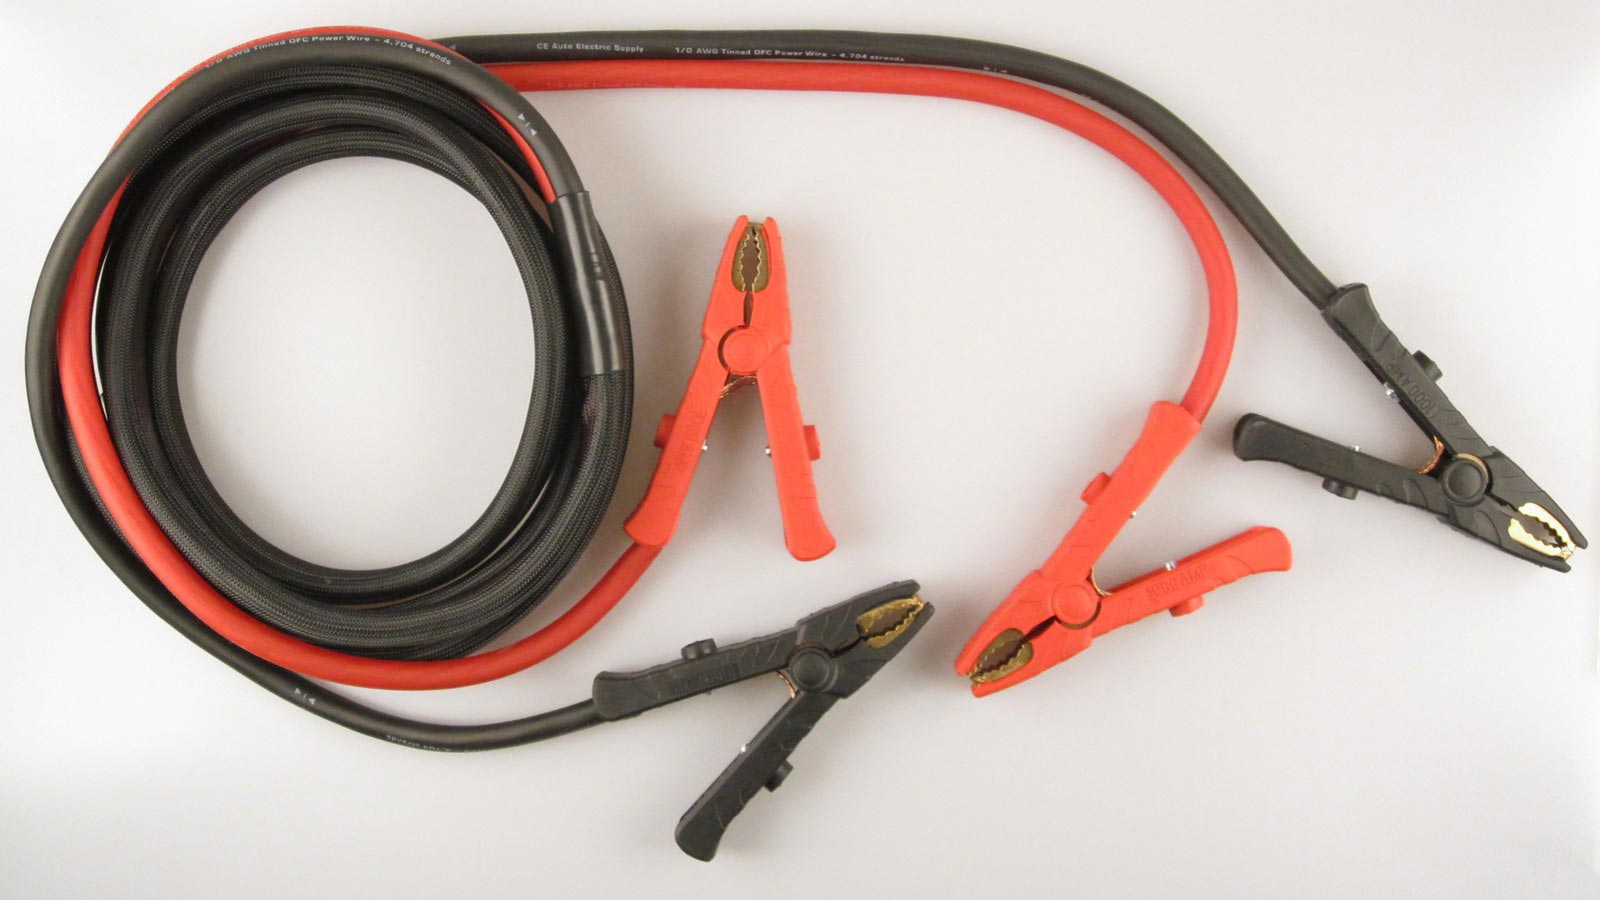
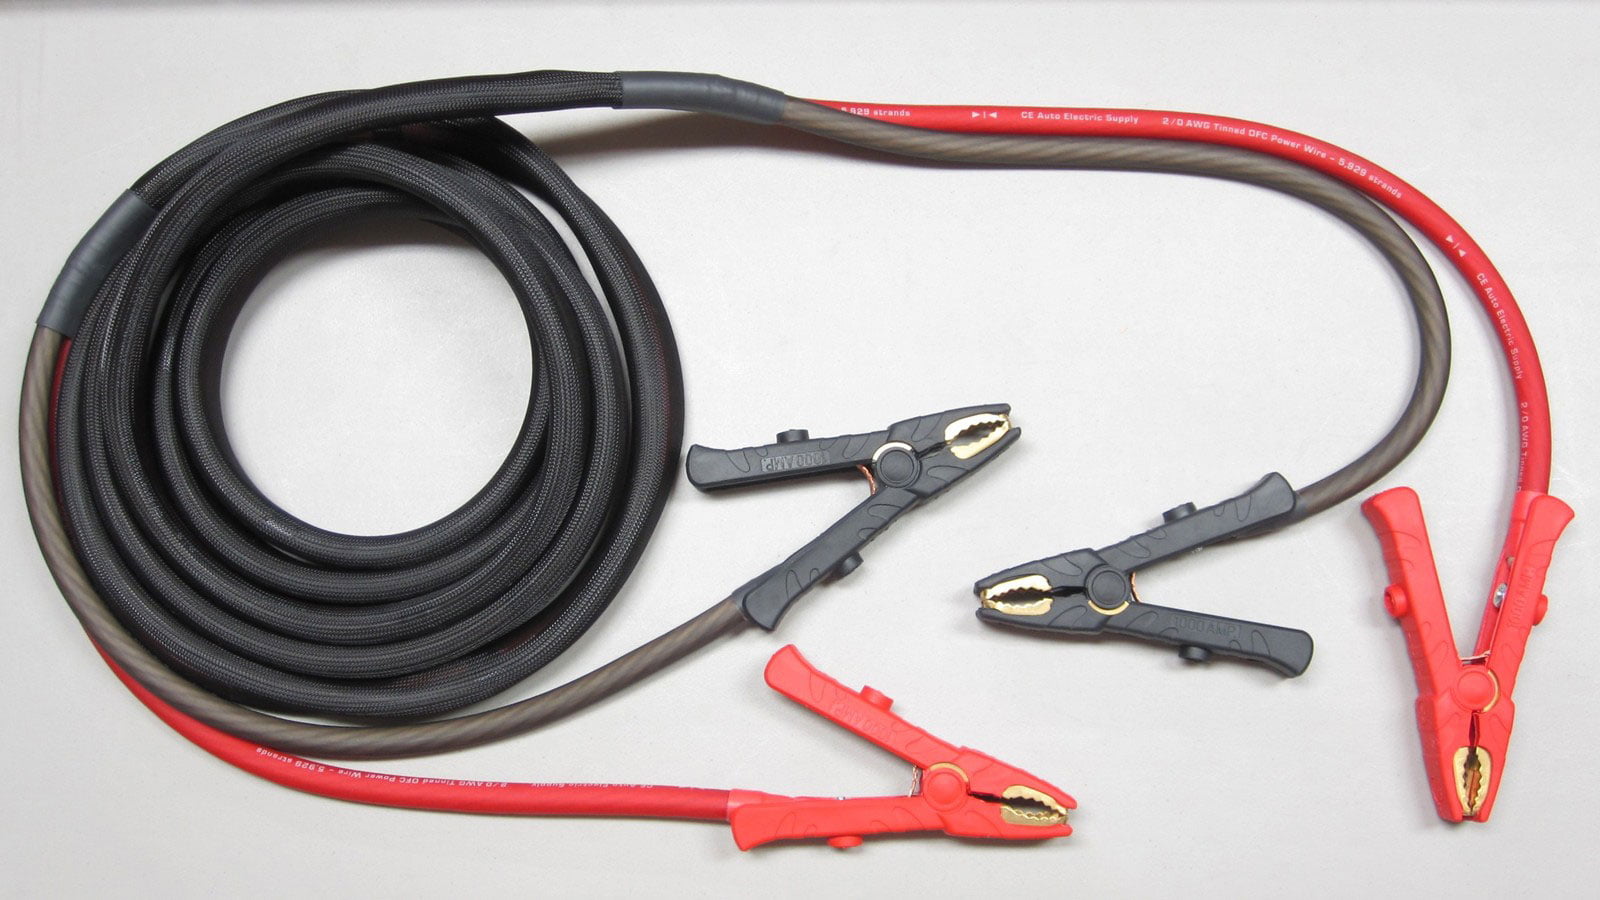
All are offered in standard booster clamp to booster clamp or our Service Style designs with a quick disconnect that mounts up front.
But don’t take my word for it. Here’s what our customers have to say:
Robert Ricciardello (verified owner) – August 2, 2016
The 2 AWG x 20 feet booster cables were received today and they are a work of art. I’ve searched long and hard for a heavy duty jumper set and nothing else comes close to the quality of materials used and workmanship as these. In fact, I was so pleased, that I just ordered a custom set of 1/0 x 30 feet. They are worth every cent!
Zackery Cherry (verified owner) – February 8, 2024 [1/0 AWG]
Just bought one set to test. Yesterday it took 3 sets of off the shelf “high quality” cables on 3 different trucks to jump one tractor. Today with my new cables that most definitely don’t suck!! I was able to start the same tractor in 20degree colder weather with only the set of cables on my trucks battery. Simple to say I just bought another set to stay in my personal vehicle.
joe – September 19, 2017 [2/0 AWG]
these cables are no joke there night and day difference from store bought 400 dollar cables instant jumps from a pickup to 24volt 1200hp 12cylinder gen set.
Scot – January 2, 2025 [2/0 AWG]
Bought a set of these to boost anything and everything. Where I am in Canada winters get down below -45 these have never let me down. Hands down the most robust most flexible best booster cable I have ever seen. Had them for several years now and they’ve held up perfectly. Would definitely buy another set but I doubt these will ever wear out. The name says it all they don’t suck!
Visit our Booster Cables that Don’t Suck page to view our selection.
How to Correctly Jump Start a Vehicle
Jump starting a vehicle with a dead battery is hazardous – especially if you’re not sure what you’re doing. Batteries can explode and you’ve got but one set of eyes so safety is paramount. Now it goes without saying that you should never work around a vehicle battery with a lit cigarette, so I won’t mention it again. Eye protection is also a must as it’s really not much of a luxury considering the alternative if a battery were to blow up in your face, and it does happen.
For the sake of clarification, we’ll call the vehicle which will be giving the jump the jump vehicle. So, with eye protection on, proceed as follows:
1 – Turn off the engine in the jump vehicle.
2 – Access the batteries in both vehicles.
3 – Connect the RED clamp to the battery positive terminal in the vehicle with the dead battery. Keep the BLACK clamp free of the vehicle at this time.
4 – Connect the RED clamp to the battery positive terminal in the jump vehicle. Keep the BLACK clamp free of the jump vehicle at this time.
5 – Connect the BLACK clamp to the battery negative terminal in the jump vehicle.
6 – Connect the BLACK clamp to a thick metal surface on the engine in the vehicle with the dead battery – the ear of the alternator, a thick accessory mounting bracket, a lift point for the engine, etc. Never connect this to refrigerant lines!
7 – Start the engine of the jump vehicle and allow it to run for at least 30 seconds. If it sounds labored, immediately shut it down and check all connections!
8 – Attempt to start the engine of the vehicle with the dead battery. If it doesn’t immediately crank over, let the engine of the vehicle with the good battery run a bit longer before trying again. On the 2nd attempt, it’s also OK to raise and hold the RPM of the engine to 2,000.
A helper is always beneficial – one at each end. You may find that saying RED IS POSITIVE before starting is an excellent way to ensure you’re both on the same page!
If you have our Service Style Booster Cables that Don’t Suck, the directions are as follows:
1 – Turn off the engine in the jump vehicle.
2 – Access the battery in the vehicle you’re jump starting.
3 – Connect the RED clamp to the battery positive terminal in the vehicle with the dead battery. Keep the BLACK clamp free of the vehicle at this time.
4 – Plug the booster set into the mating connector on the jump vehicle.
5 – Connect the BLACK clamp to a thick metal surface on the engine in the vehicle with the dead battery – the ear of the alternator, a thick accessory mounting bracket, a lift point for the engine, etc. Never connect this to refrigerant lines!
6 – Start the engine of the jump vehicle and allow it to run for at least 30 seconds.
7 – Attempt to start the engine of the vehicle with the dead battery. If it doesn’t immediately crank over, let the engine of the vehicle with the good battery run a bit longer before trying again. On the 2nd attempt, it’s also OK to raise and hold the RPM of the engine to 2,000.
Either method removes the dead battery from the circuit as much as possible to direct as much power to the starter as you can.
Aftermarket High Output Alternators
Many high output alternator manufacturers, including Mechman, discourage jump starting any vehicle with one of more of their units – especially if it has multiple batteries or a battery bank. Alternator damage can result from the excessive heat generated when using the alternator to replenish the charge in several dead batteries simultaneously. If a jump start is the only option, best to disconnect any such battery banks before jumping.


